Geometry around the face
A neckline is a frame under tension.
Round, square, boat, V, halter, and cowl start as lines. Cloth and construction make them behave.
The neckline is where silhouette, anatomy, stretch, and finishing meet in one visible curve.
Draw a line around the upper body and you have the start of a neckline, not the finished thing. That line has to pass over the head or open with a fastening. Its edge has to be stabilized. Its shape has to survive gravity, movement, and washing without gaping, stretching, or rolling.
Names mostly describe geometry: crew and scoop are curves, square has corners, boat runs wide, V comes to a point. Halter means support wrapping around the neck. Cowl means extra cloth collapsing into folds. The construction hides inside the shape.
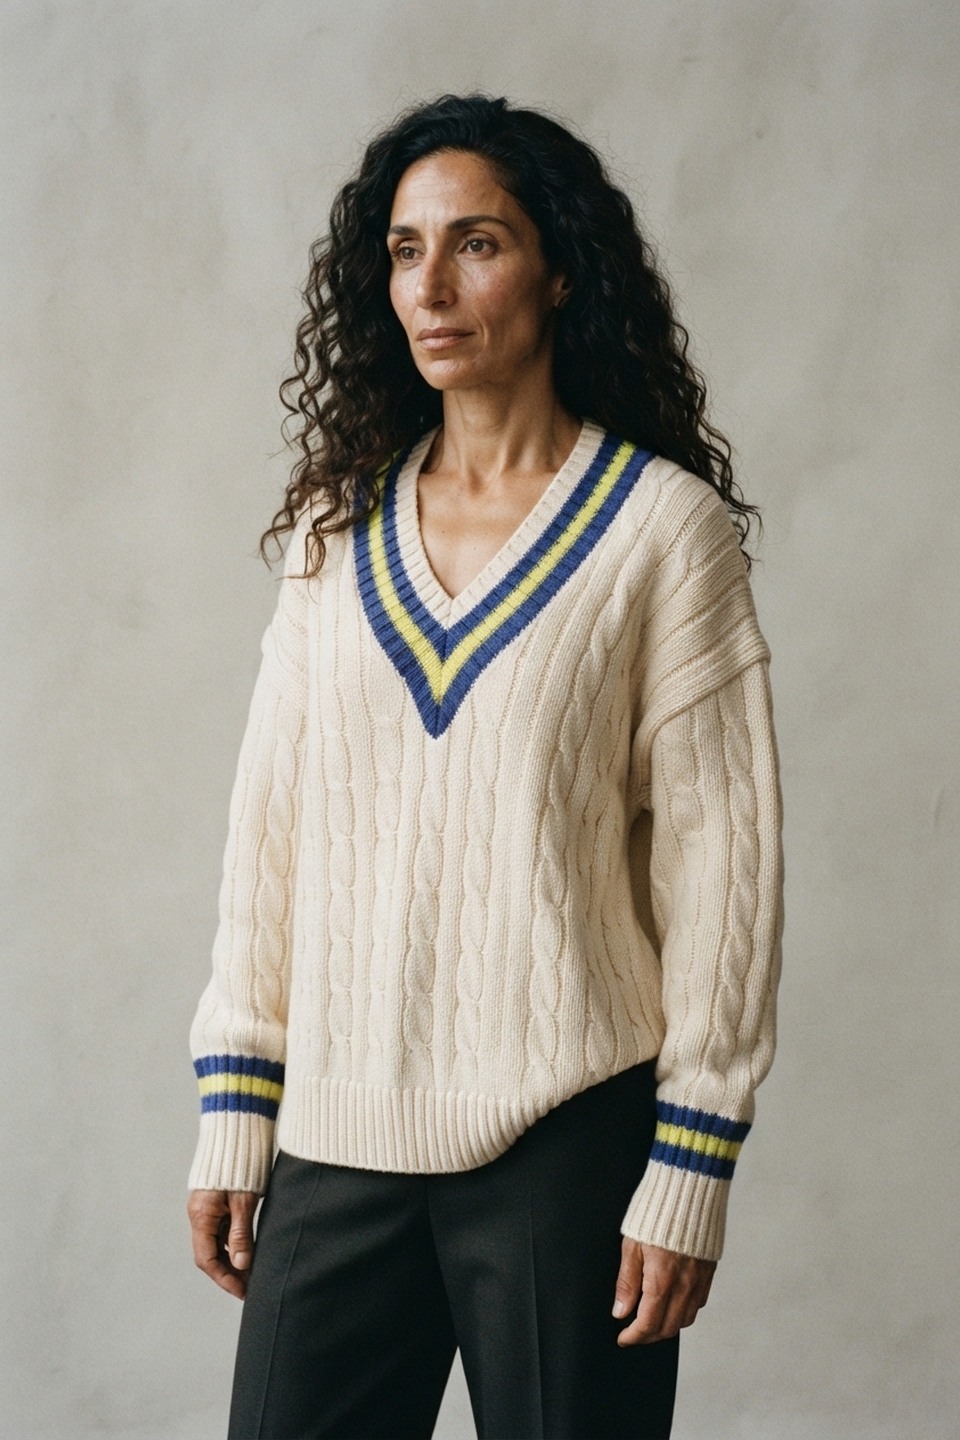 AI concept render
Close curve, usually finished with stretch rib
Deeper curve with more edge to stabilize
Two edges meet at a reinforced point
Wide, shallow line toward the shoulders
Corners ask cloth to turn sharply
Added length falls instead of lying flat
The neckline lives partly on the bias.
Fabric stretches differently along its length, its width, and its diagonal. A curved neckline passes through all three on its way around the body. The stretch near the shoulder is small; the front curve runs close to the bias and wants to grow. A deep scoop or V removes the cloth that was holding everything up, so handling and reinforcement matter more.
So a neckline can look right on paper and ripple after sewing. Staystitching, stabilizing tape, careful pressing, and assembly order keep the line. In knits, the neckband supplies the tension. It has to be shorter than the opening, and the right ratio depends on that band’s stretch and recovery rather than a universal percentage.
Every opening needs a finished edge.
A knit crew neck uses a rib band cut shorter than the opening, so it stretches into place and pulls the edge inward. A woven neckline uses a facing, a binding, a lining, or a collar. Staystitching stops a curved woven edge from growing before it’s sewn.
The finish changes the visual weight. Narrow binding reads as a line. A facing disappears inside. Rib makes a distinct frame. A raw edge looks relaxed, as long as the curling and fraying are on purpose.
The finish changes the apparent shape.
A rib band makes a visible frame and adds thickness. A facing turns to the inside, leaving the outer line clean as long as it has enough structure not to roll out. Bias binding draws a narrow outline that can vanish or become a contrasting stripe. A collar builds above the neckline and turns an edge into structure.
So two identical V openings can feel unrelated. Wide striped rib reads athletic. A self-fabric facing reads minimal. A tailored collar makes it a shirt. When you collect references, look at the finish before you credit the line.
Depth and width solve different problems.
Lowering a neckline shows more torso and lengthens the vertical line. Widening it moves attention to the shoulders and can expose straps. A deep narrow V and a wide shallow boat can uncover about the same area and pull the eye in opposite directions.
The pattern still has to stay on the body. As the opening grows, the remaining shoulder and edge carry more of the load. Stretch, bias, interfacing, closures, and internal support decide whether an ambitious line feels effortless or needs tugging back into place all day.
Lower the V and everything else moves.
Lowering a neckline removes cloth and stability. Widening it shortens the shoulder seam and exposes straps. Raising a V changes its angle unless you rethink the width. You can trace a new line in seconds, but the facing, band, collar, closure, and seam length all have to follow it.
Make the change on the pattern, then walk the finishing pieces along the new edge. Mark where a V needs reinforcing and check that a knit band can turn the curve without rippling. A neckline looks simple because the construction has absorbed its complications.
A cowl turns an edge into stored cloth.
Most necklines are drawn contours: round, square, V, boat. A cowl adds length and width that has to fall into folds. It’s often cut partly on the bias so the fabric twists and collapses fluidly. Its success depends less on the flat shape than on whether the cloth has the weight and suppleness to organize itself.
Too crisp a cloth holds the cowl off the body like a container. Too limp and it collapses into a rope. A lining, facing, or double layer changes the weight and which surface shows inside the fold. Here the neckline is a small drapery system hung from the shoulders.
Getting it on, keeping it up, and how much it shows.
A neckline has to pass over the head or open wide enough to let it through. Stretch knits do this invisibly. Woven boat necks may open at the shoulder; close collars use buttons, zippers, or plackets. Deep and wide necklines may need straps, internal elastic, boning, or a second layer to stay where the sketch put them.
Coverage changes in motion. A square neck gapes when the wearer reaches forward. A wrap V shifts while sitting. A halter carries the load around the neck or across the upper back. There’s no single correct amount of exposure. The wearer should know what the garment will reveal, support, or need underneath.
A collar is not a neckline.
The neckline is the opening in the bodice. A collar is a separate piece attached around some or all of it. The same opening can carry a stand collar, a shirt collar, a hood, a ruffle, or nothing. Keeping the two apart makes a design easier to describe.
Start with the line you want against the body. Then decide how the edge is finished and whether anything grows out of it. That order keeps decorative vocabulary from hiding the geometry that has to fit.
Collars begin by borrowing a neckline.
A collar attaches to some or all of the neck seam, then rises, rolls, folds, spreads, or lies flat according to its shape. The neckline sets the base it has to fit. A small change there alters how a shirt collar closes, how a sailor collar lies across the back, or how a turtleneck stands. Collar and opening are one system.
Stand height, roll line, spread, thickness, and interfacing decide what happens above the seam. A soft camp collar and a formal shirt collar start near the same anatomy and organize the space around the face very differently. When you spec a neckline with a collar, describe the structure above the edge too.
Specify the line by landmarks.
Names are good for search. Measurements make a neckline repeatable. Record width from the shoulder or high-point landmarks, depth from a stable reference, the shape of the curve or point, and the finished edge. Say whether a collar or band is in the measurement. For an asymmetric neckline, note how it relates to center front.
Fit the sample while turning, reaching, and sitting. Check the shoulder stays supported, the front edge lies flat, and the opening still clears the head. Then step back. A neckline is one of the strongest lines on a garment because the face gives it an audience. A few centimeters change the whole picture.
The smallest line can control the whole garment.
A neckline sits next to the face, cuts across the biggest plane of the garment, and has to survive getting dressed every single day. Choose the geometry for how it looks, then give it the structure to stay that shape.