Beyond printing on a blank
Design the hoodie, not just its graphic.
Hood, shoulder, pocket, hem, cloth, and hardware are all yours to decide before the artwork shows up.
A hoodie manages warmth, storage, identity, and the space around your head, all in one piece of fleece.
Most online hoodie tools start after the garment has already been designed. You pick a blank, upload an image, choose a print location. Designing from scratch starts earlier: what kind of hood frames the face, where the shoulder falls, how the body ends, what the fabric has to do.
Start with the use. A compact zip hoodie for layering wants a different body from a heavy pullover worn as a coat. A running hoodie wants a close hood, a light knit, secure pockets, and low-bulk seams. A team hoodie for a ceremony wants scale, structure, and embroidery.
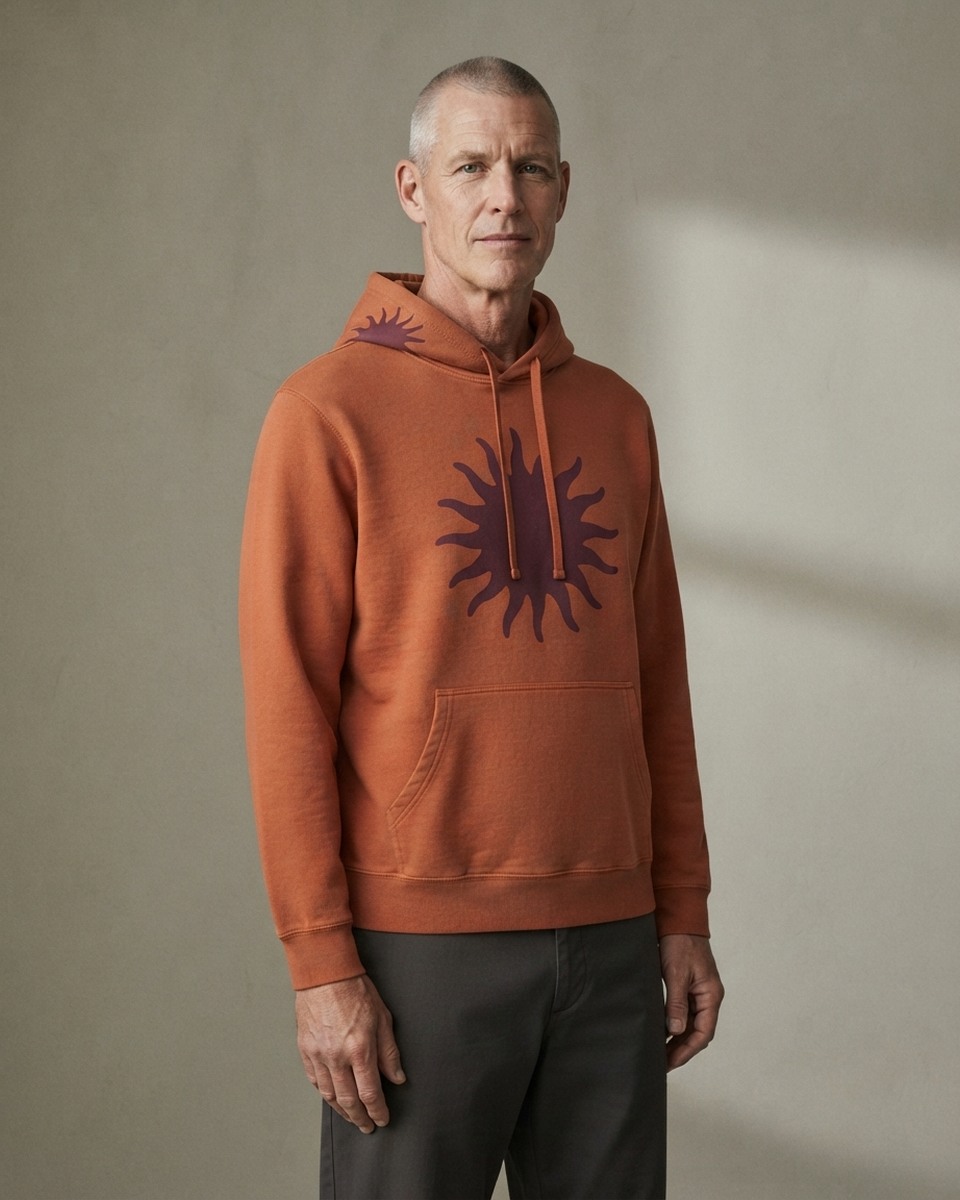 AI concept render
Cropped, straight, tapered, long, or oversized
Set-in, raglan, dropped, or paneled
Single or double layer; close or generous
Pullover, half zip, full zip, or crossover
Kangaroo, welt, zip, or no pocket
Rib, elastic, raw edge, binding, or drawcord
The hood is a three-dimensional collar.
A hood that looks generous flat can turn shallow on the head. Height, depth, the center seam, and the neckline opening all matter. A double layer adds body and hides seams, but it adds weight, and that weight pulls the front neckline backward unless the pattern and fabric account for it.
Decide whether the hood should lie flat on the back, stand around the neck, close around the face, or fit over another layer. Drawcords, snaps, brims, and crossovers each solve a different one of those problems and change the look of the garment.
The hood starts at the neckline.
A hood shares one opening with the head, face, and shoulders. Widen that neckline and the hood sits flatter when down but exposes more at the front. Close it up and the hood stands around the neck but gets harder to pull on. A crossover front adds coverage and structure. A zipper puts a hard center line that has to meet cleanly at the top.
The hood itself needs height for the crown and depth from forehead to the back of the head. Too little and it slides off the brow or drags at the neck. Too much and it blocks peripheral vision. A center gusset or a three-panel hood shapes the volume more precisely than two mirrored sides.
Fleece is a family.
French terry leaves loops visible on the inside. Brushed fleece raises those loops into a softer, warmer surface. Double knits give body without the fuzzy interior. Then weight changes everything again: a dense cotton-rich fleece hangs like soft armor, a lighter synthetic knit compresses and springs back.
The inside matters because it meets sweat, layers, and rubbing. A brushed surface feels inviting but sheds and pills differently from intact loops. A stable face takes a clean print; a lofty one blurs detail. Specify face and back, and test the color, because dark brushed fibers make lint very visible.
The hem decides whether the body falls or blouses.
A rib band cut smaller than the body pulls the fabric in and makes fullness above it. A straight self-fabric hem lets the body hang. Elastic gathers a lightweight shell. Cropping changes how the pocket, the rib, and the torso relate, so shortening a standard hoodie is rarely the whole answer.
The shoulder finishes the proportion. A dropped seam gives artwork a wide uninterrupted plane and the wearer a relaxed posture. Raglan seams pull the eye toward the neck and move well. A set-in shoulder looks cleaner, especially in a closer fit.
Rib pulls the garment in.
Cuffs and waistbands are cut smaller than the openings they finish, then stretched into place. The ratio sets how hard they pull inward. Rib with poor recovery grows and waves. Rib that’s too firm makes a heavy body balloon above the hem or squeezes the wrist. Its weight, stretch, and recovery have to belong with the body fabric.
The waistband also changes how long the hoodie looks. A deep rib becomes a visible base and shortens the body. A narrow band reads as a small interruption. Splitting the band at the side seams, adding vents, or using a straight hem lets a wide hoodie fall without cinching. The finish is part of the silhouette.
The pocket carries a load.
A phone turns a pocket into a hanging weight. In a kangaroo pocket that weight pulls on the front body and can make the opening gape. In a zip hoodie, two separate pockets keep an object from sliding across the center, but their bags still need depth and secure attachment. Hidden interior pockets keep the outside clean at the cost of extra layers and sewing.
Place a pocket by testing hands and contents. The opening angle should accept the wrist. The lower edge shouldn’t collide with the rib band. Reinforce the opening so repeated entry doesn’t stretch one small point. If a paperback or a tablet is part of the fantasy, put its actual weight into the sample and watch what the hoodie becomes.
A zipper doesn’t stretch.
A full-length zipper fixes both front edges to a part with its own exact length, tooth size, tape, slider, and stiffness. If the fabric stretches and the zipper doesn’t, the front waves. If the two sides are fed unevenly, pockets and seams no longer meet. The top stop sits right by the chin, where a rough edge is impossible to ignore.
Specify length and gauge, separating or closed end, puller, tape color, and whether a guard protects the chin. Reinforce the opening enough to sew cleanly without turning the front into a board. Hardware scale changes the voice of the whole hoodie: a chunky metal zip and a fine coil zip make different garments from the same pattern.
Where the seams pile up.
Fleece stacks fast where hood, neckline, shoulder, and zipper meet. A standard overlocked seam is efficient. Coverstitch, binding, flatlock, or taped finishes change bulk and looks. The right choice depends on cloth thickness, stretch, skin contact, the machines available, and whether the inside is meant to be seen.
Map the junctions before sampling. A drawcord channel crossing a hood seam, a pocket ending on a waistband seam, embroidery stacked over several layers: each makes a hard spot. Soft clothes still have joints. Designing them is what makes a hoodie feel good from the inside.
Decoration has to work with the construction.
A kangaroo pocket interrupts a front print. A zipper splits it. Thick fleece swallows fine embroidery, and dense stitching makes soft cloth pucker. Artwork that crosses a seam needs registration and a method that can handle the bump.
Design the blank and the image together. Move the pocket, change its opening, run the graphic around the seam, or let the construction be the graphic. That’s the difference between decorating a product and designing a garment.
Write a brief the first sample can test.
Name the wearer, the weather, and what they do in it. Then pin down the body, shoulder, hood, opening, pockets, hem, fabric, and decoration. Add the details that fail quietly: zipper gauge, drawcord length, eyelet finish, whether the hood lining shows when it’s down.
When the sample arrives, load the pockets, zip it, layer it, wash it, and wear the hood for longer than a photo. Does the neckline creep back? Do the cuffs recover? Does the print bend with the body? The best sample comment names a cause: “The double hood pulls the front neck up; lighten the hood or rebalance the opening.” That tells the next version what to become.
Begin with a person in a place.
Picture the wearer pulling the hood up, putting a phone away, sitting down, pulling a jacket over the top. Those four moments tell you more than a mood board. A hoodie gets specific when it’s built around a real day.